


How to Create a Time Activity
Time activities in Liradocs are used to record billable and non-billable hours for matters. Properly tracking time ensures accurate client invoicing and helps maintain organized records of work performed.
Time activities can be recorded as Fee, Time, or Disbursement, and once linked to an invoice, they automatically appear when generating client bills.
This guide focuses on creating a Time activity.
Step 1: Navigate to Time & Activities
Go to Settings in Liradocs.
Select Time & Activities from the menu.
Step 2: Create a New Activity
Click the Create Activity button.
In the Activity Type field, select Time.
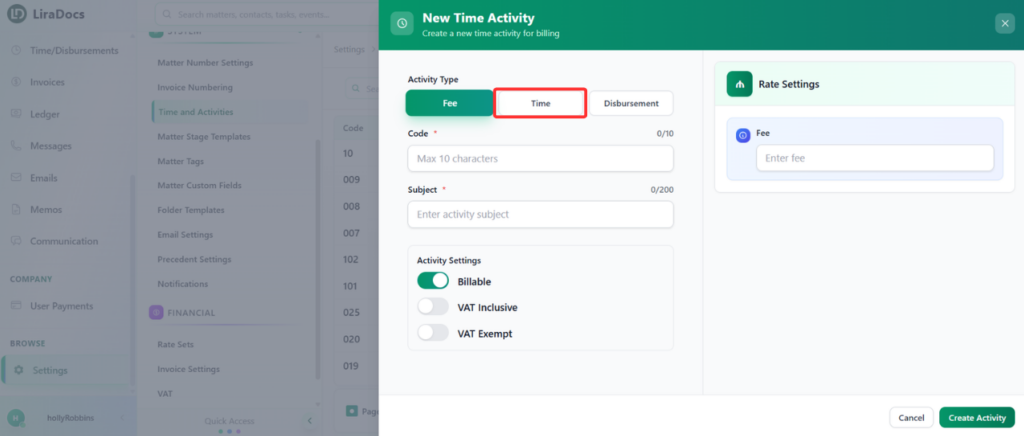
Step 3: Enter Activity Details
Activity Code: Enter a unique code to identify the activity.
Subject: Provide a brief description or title for the activity.
Duration: Set the duration of the activity (e.g., 2 hours).
Billable Status: Select whether the activity is Billable or Non-Billable.
VAT Status: Choose whether the rate is VAT Inclusive or VAT Exempt.
Step 4: Configure Rate Settings
You can configure how the rate applies for this activity:
Do Not Override Rate: Use the default rate for the staff member.
Override Rate for All Staff: Apply a custom rate for all staff members.
Override Default Rate per Staff: Set different rates for individual staff members.
For this example, select Do Not Override Rate.
Step 5: Save the Activity
Once all details are filled, click Create Activity.
Your new Time Activity is now successfully created and ready to be linked to client invoices in Liradocs.
This structured process ensures all time worked is accurately tracked and easily invoiced, maintaining consistency across your firm’s workflow.
