


How to Create an Event
Events in Liradocs help you schedule and track meetings, appointments, or deadlines related to matters. You can assign events to staff, link them to matters, and set reminders to stay organized.
Follow these steps to create a new event in Liradocs:
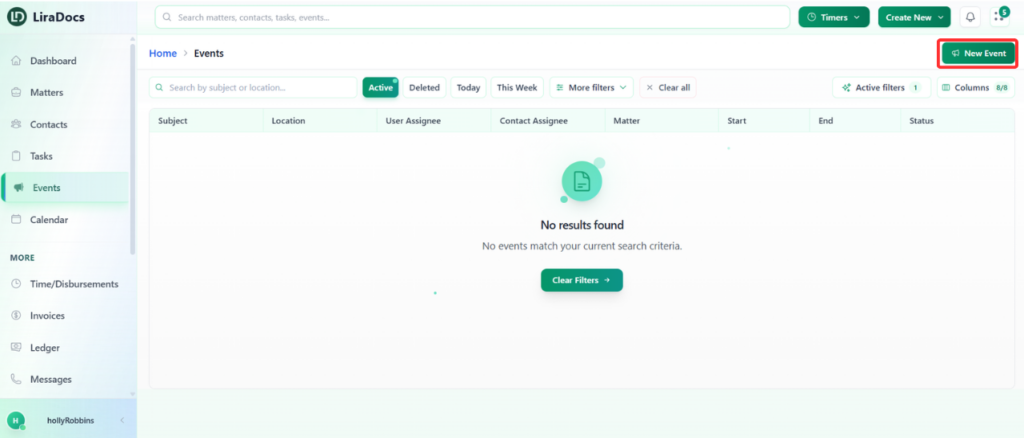
Step 1: Navigate to the Events Tab
Go to the Events tab from the main menu.
Click on the New Event button to start creating a new event.
Step 2: Enter Event Details
Subject: Enter the title or subject of the event.
Location (Optional): Add the location if applicable.
Related Matter: Select the matter that this event is associated with.
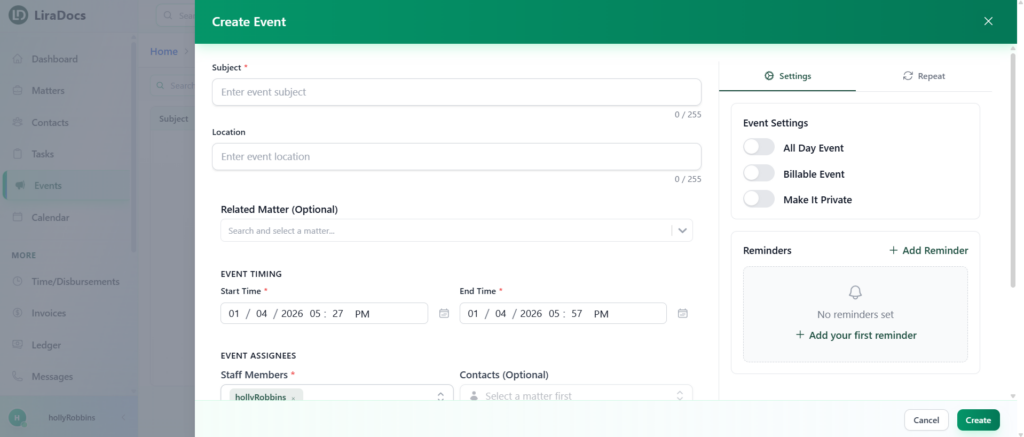
Step 3: Set Date and Time
Start Time: Choose the start time for the event.
End Time: Set the end time.
Step 4: Assign Staff Members
Select the staff members who should be assigned to the event.
Step 5: Add Notes (Optional)
Enter any additional notes or details about the event in the notes section.
Step 6: Adjust Event Settings
You can customize additional settings for your event:
All-Day Event: Mark the event as lasting the entire day.
Billable Event: Indicate if the event is billable.
Private Event: Make the event private so only assigned staff can view it.
Reminder: Set a reminder to notify staff before the event starts.
Step 7: Set Repeat Options (Optional)
If your event occurs regularly, you can configure repeat options:
Repeat Daily, Weekly, Monthly, or Yearly
Customize the days and occurrences as required
For one-time events, leave the repeat option disabled.
Step 8: Create the Event
Once all details are entered, click the Create button.
Your new event will now appear in the Events tab.
Creating events in Liradocs is quick and flexible, allowing you to efficiently manage meetings, deadlines, and staff schedules while keeping them linked to relevant matters.
