


How to Create a Task
Tasks in Liradocs help you organize work, assign responsibilities, and track progress within your firm. Follow the steps below to create a new task.
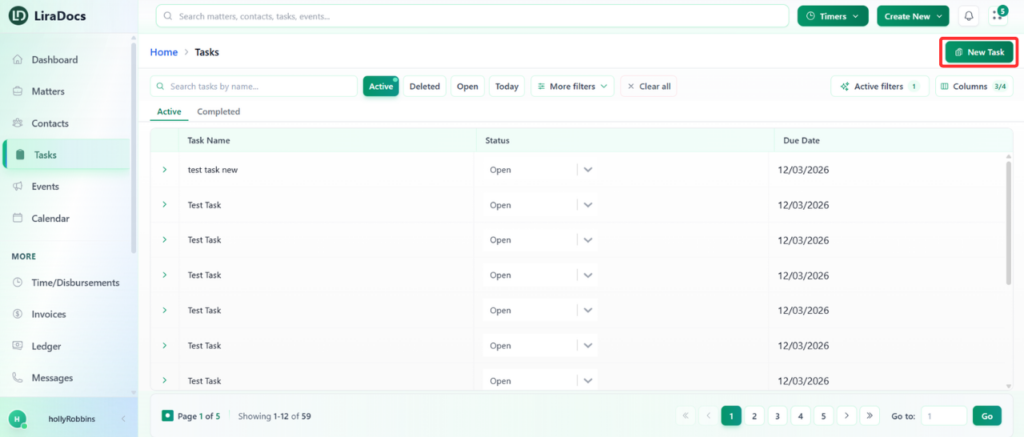
Step 1: Navigate to the Tasks Section
Open the Tasks tab in Liradocs.
Click the New Task button to begin creating a task.
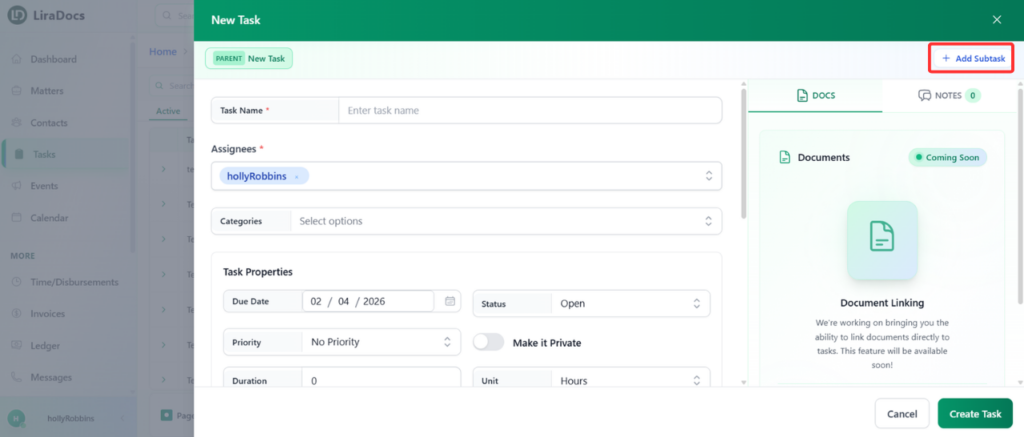
Step 2: Enter Basic Task Details
Task Name: Enter a clear name for the task.
Assignees: Select the team member(s) responsible for completing the task.
Category (Optional): Choose a task category if you want to classify the task.
Step 3: Configure Task Properties
In the Task Properties section, configure the following options:
Due Date: Set the deadline for completing the task.
Status: Select the current status (for example, In Progress).
Priority: Choose the priority level for the task.
Private Task: Enable this option if you want the task to remain private.
Duration: Set the expected duration for completing the task.
Step 4: Set a Reminder
Choose a Reminder time.
For example, selecting 1 hour will notify you one hour before the task deadline.
Step 5: Link the Task to a Matter (Optional)
If the task is related to a specific matter:
Use the Matter option to attach the task to the relevant matter.
This helps keep all activities related to that matter organized.
Step 6: Add Additional Information
Details: Add any additional information related to the task.
Notes: Include internal notes if needed.
Step 7: Create Subtasks (Optional)
Click Add Subtask to create a subtask under the main task.
Enter the subtask details just like you would for the main task.
Repeat this process if multiple subtasks are required.
Step 8: Create the Task
After filling in all the necessary information, click Create Task.
Your task will now be successfully created and visible in the Tasks section.
Using tasks in Liradocs makes it easy to assign work, track deadlines, and manage responsibilities efficiently within your firm.
