Tags help you organize and categorize matters more effectively. By assigning tags, you can quickly identify matters, group similar cases, and improve overall organization within your workspace.
Follow the steps below to assign a tag to a matter in Liradocs.
Step 1: Go to the Matters Section
First, navigate to the Matters tab from the main menu.
This will display the list of all matters in your system.
Step 2: Open the Matter
From the matters list, select and open the matter to which you want to assign a tag.
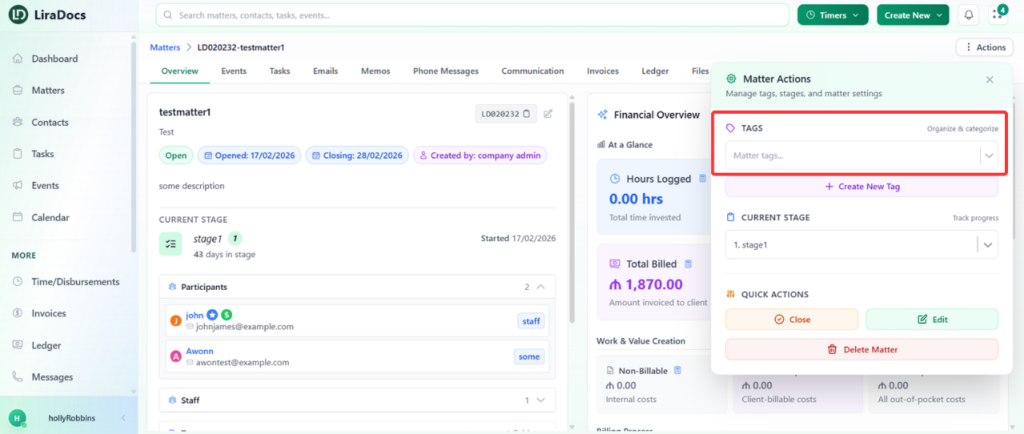
Step 3: Access the Tag Options
Once the matter is open:
Click the Actions button.
Navigate to the Tags section.
You will see a dropdown menu containing all the existing tags available in the system.
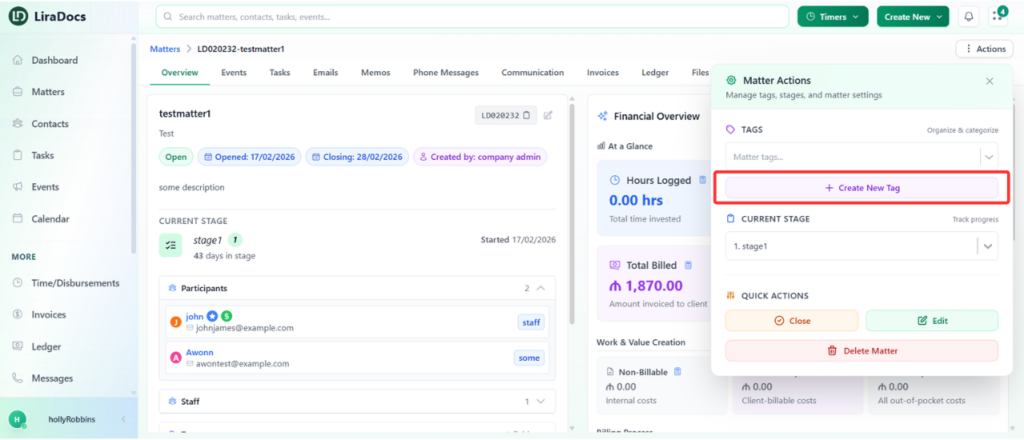
Step 4: Create a New Tag (Optional)
If the tag you want to use does not already exist, you can create a new one.
Click the Create New Tag button.
Enter a name for the tag.
Select a color for the tag.
The Matter Type field is optional and can be left unchanged if not needed.
Add a description for the tag.
After filling in the required information, click the Create Tag button.
The new tag will now be added to the list of available tags.
Step 5: Assign the Tag to the Matter
To assign the tag:
Open the tag dropdown menu again.
Select the tag you want to apply.
Click Save.
Then click Apply Changes.
The selected tag will now be successfully assigned to the matter.