


How to Add a New Widget to the Dashboard
Widgets allow you to customize your dashboard and quickly view important information such as matter distribution, tasks, and other key data. Follow the steps below to add a new widget to your dashboard.
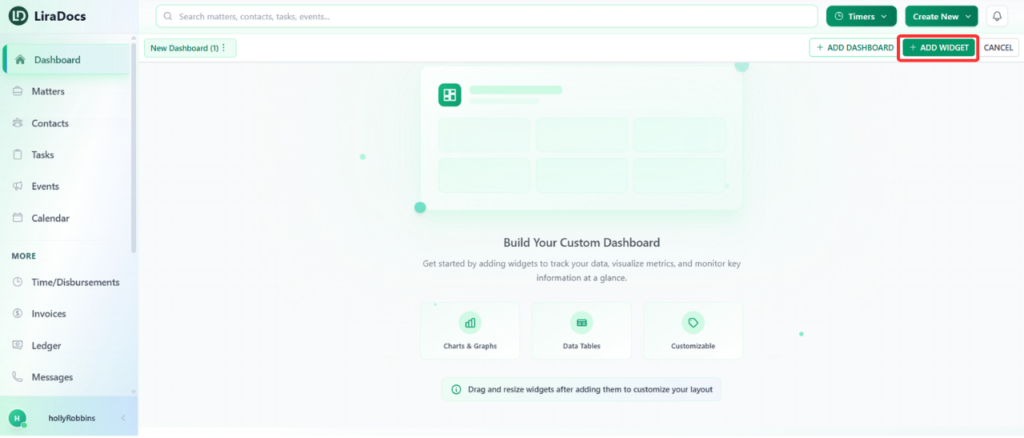
Step 1: Open the Dashboard
Navigate to the Dashboard section in Liradocs where you want to add a new widget.
Step 2: Click on “Add Widget”
Click on the Add Widget button. This will open the Widget Library, where you can browse and select widgets based on your needs.
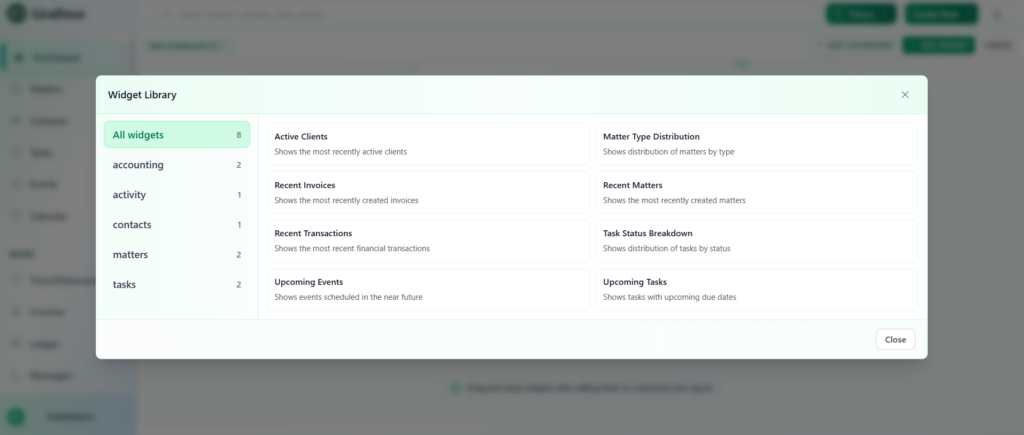
Step 3: Select a Widget
From the widget library, choose the widget you want to add to your dashboard.
For example, you can select Matter Type Distribution to display a visual breakdown of matters by type.
Step 4: Customize the Widget
Before adding the widget, you can customize several settings:
Display Name: Change the name of the widget as it will appear on the dashboard.
Fields to Display: Select the data fields you want the widget to show.
Color: Choose a color that matches your dashboard theme.
Refresh Interval: Set how often the widget automatically updates its data.
Step 5: Add the Widget
Once you have configured the widget settings, scroll to the top of the page and click the Add button.
The widget will now appear on your dashboard.
Step 6: Reposition or Resize the Widget
After adding the widget, you can adjust its placement and size:
Move the widget by clicking and dragging it to your preferred location on the dashboard.
Resize the widget by dragging its corner to make it larger or smaller.
This allows you to organize your dashboard in a way that best suits your workflow.
